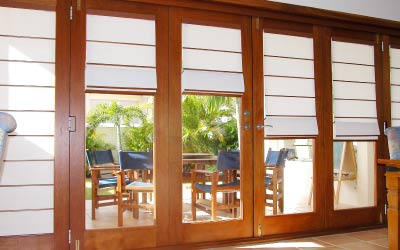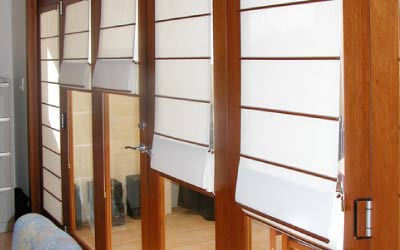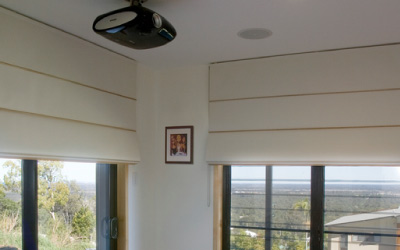
Roman Blinds are soft fabric blinds that fold into pleats when raised. They are available in choices of styles to suit all tastes.
Roman Blinds are ideal throughout the home but they are particularly suited to bedrooms, dining rooms and lounges because of the soft look the fabric creates.
-
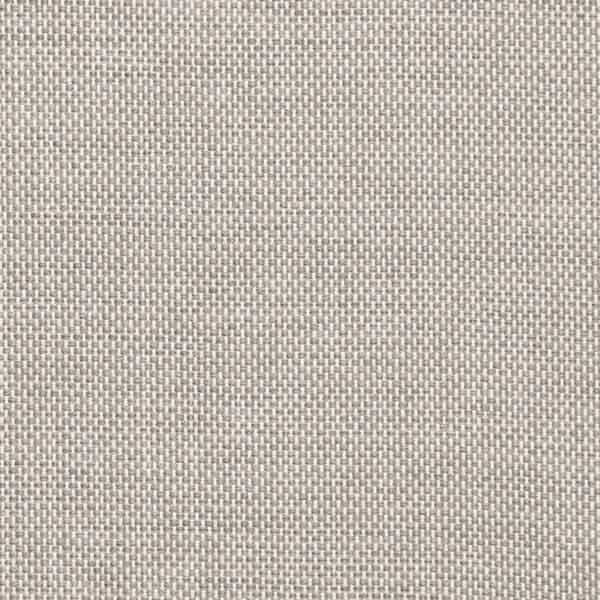
Colours & Fabrics
Click any of the ranges below to view our wide range of colours.
-

Aventus 10%
-

Aventus 5%
-

Bond
-

Boston
-

Broome
-

Chapparal
-

Edge
-

Husk II
-

Karma
-

Mercury
-

Oakland - Blinds
-

Palm Beach
-

Phoenix
-

SB Wooloomai
-

Skye
-
Strand
-

Tuscany
-

Uluru
* Chapparal, Chatsworth, Husk, Palm Beach and Skye ranges are only available in our standard roman blind. -
-
Options & Benefits
• STANDARD
• BACK BATTEN
• FRONT BATTEN
• ONE TOUCH
Energy Efficiency 
Child Safety -
Indoor Blinds Motorisation
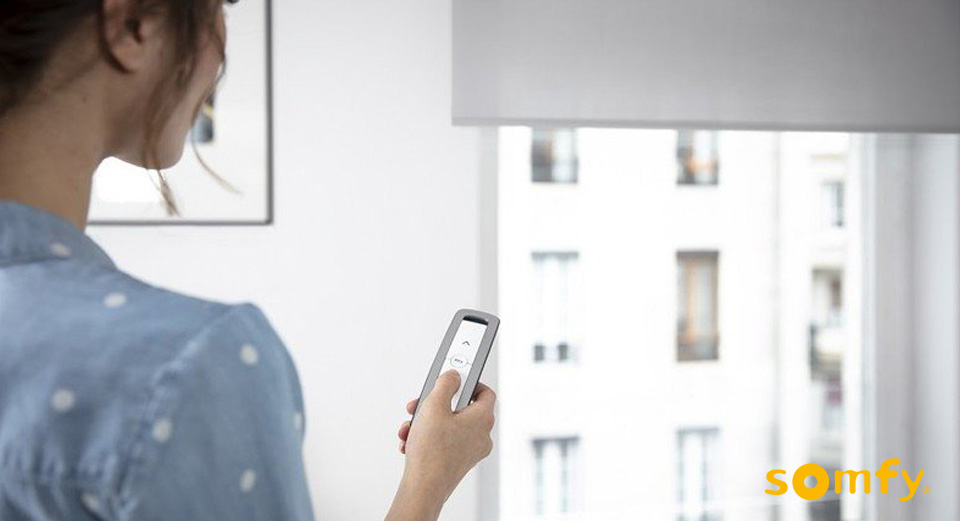
Motorisation of blinds is growing in demand.We carry a full range of Viewscape & Somfy motor solutions for all of your internal blind needs. In addition to modern remote controls, it is possible to control blinds with wall switches, sensors, home automation systems and via your mobile phone or tablet device.
Benefits of Motorisation:
• Quiet and efficient.
• Increased child safety due to minimal wires or cables visible.
• Operation with a touch of a button from almost any position in the room.
• Ideal for high windows which are hard to access.
• Hubs, Timers and Sensors also available as an added extra.
• Quiet and efficient.240v Motors:

Options available
- Somfy Altus 40 RTS 3/30 with inline connector
- Somfy Sonesse 40 RTS 3/30 with inline connector
- Somfy Sonesse 40 RTS 6/20 with inline connector
- Somfy LS40 3/30 Wired Technology
- Somfy Sonesse 40 6/20 Wired Technology
- Available with Situo 1,2 5 & 16 Channel remotes for RTS motors
- Available with 1,2 & 4 channel Smoove Wall Switches for RTS motors
- Somfy Inis Uno & Duo Switches available for WT motors
- Somfy Connexoon available for the above listed RTS motors only for phone, ipad control along with compatibility to connect with voice control products such as Google Home or Amazon Alexa.
-
Gallery